LabVIEW is a graphical programming language in many ways. In this blog post I'll focus on the User Interface (UI) aspect of the LabVIEW language and explain how to deviate from it's traditional palette graphical elements. Specifically I'll discuss how to modify the LabVIEW Boolean button.
To begin, add a 'System Button' to your Front Panel (FP) – either <<Classic>>

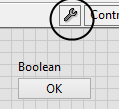
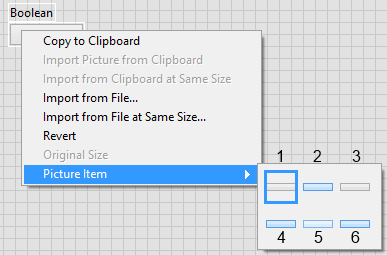
Click the circled icon to enter Customize Mode. Once in this mode right click on the button and you can now change the 6 graphics that define how the button looks. Below is a list of which graphic is used per event.:

1 – OFF without Hovering
2 – ON without Hovering
3 – Depressed Button when OFF
4 – Depressed Button when ON
5 – Hovering Over Button when OFF
6 – Hovering Over Button when ON
Once the picture item you want to modify is selected you can select one of the following to change the graphic.
a. Import Picture from Clipboard
b. Import from Clipboard at Same Size
c. Import from File…
d. Import from File at Same Size
I suggest avoiding the 'Same Size' options since that will modify the aspect ratio (AR) of your image and may distort the end goal. Note that if you are just trying to import a color then the AR will not matter. That being said, it will be beneficial to make the button and the graphic dimensions match up before importing a graphic so that zero distortion occurs.
You then should use either option a or c, with c being the best option in order to have a backup of the image you use.
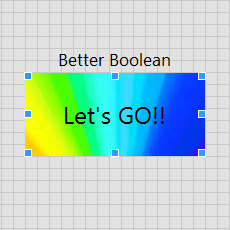
Once you get the hang of it you will be able to completely customize how a button looks and reacts on the interface! Just a reminder that for the hover event to be present you need to show what the run-time interface will look like by using the hotkey Ctrl + m.
Learn more about DMC's LabVIEW programming services.


